
Before installing the PowerPoint plugin it will be handy to know that the plugin is compatible with Microsoft PowerPoint 2010, 2013 on Windows XP, Vista, 7, 8 and 10.
Are you working with a Mac? You can still use our plugin by firstly installing Windows on your Mac. For example Parallels is a good solution for running Windows on Mac.
1. Download the latest plugin version on our website

After downloading the plugin, you can open the file to start the installation process:

2. Install the plugin
Following pop-up will open:

Click 'Next' to continue the setup wizard.
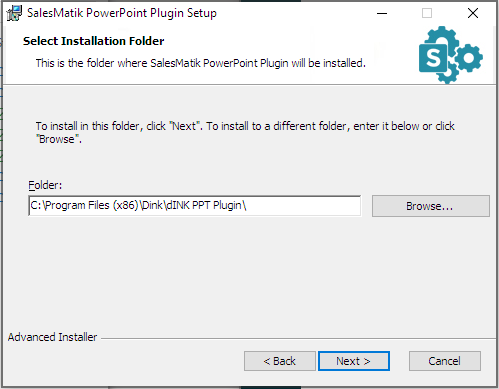
Is the location of installation good for you? Click 'Next' to continue.
If not, change the location and then click 'Next'.
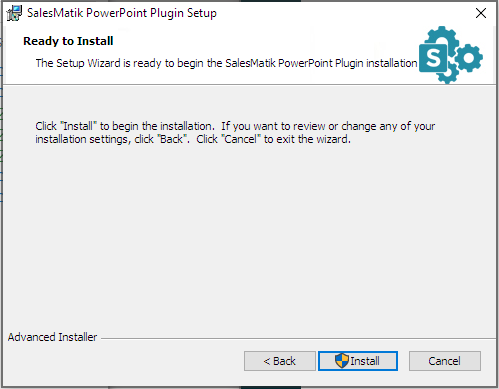
After clicking 'Install' the installation process will start.
Possibly you will get an additional warning screen whether you trust us as a supplier or not.
After clicking 'Yes' the process will continue with this final pop-up:

Click on 'Finish' and a new tab called 'SalesMatik' will be displayed when opening PowerPoint:
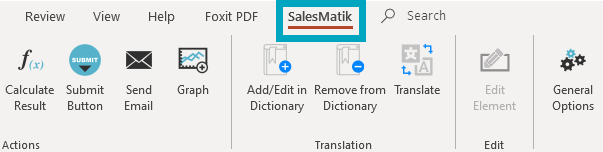
If you do not see the new tab yet after the installation, you might need to add it manually in the 'Options' of your PowerPoint.
For your next step, take a look at the detailed functionality and possibilities of our PowerPoint plugin.
Comments