
We advise to follow these steps when using large background images (important here: the images should be in PNG, 24 bit, at least 2048 * 1536 px for iPad and 2736 * 1824 px for Surface Pro) to start creating your interactive publication:
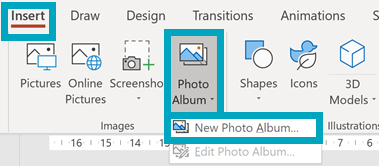
Open any .pptx file and go to 'Insert' > 'Photo Album' > 'New Photo Album':
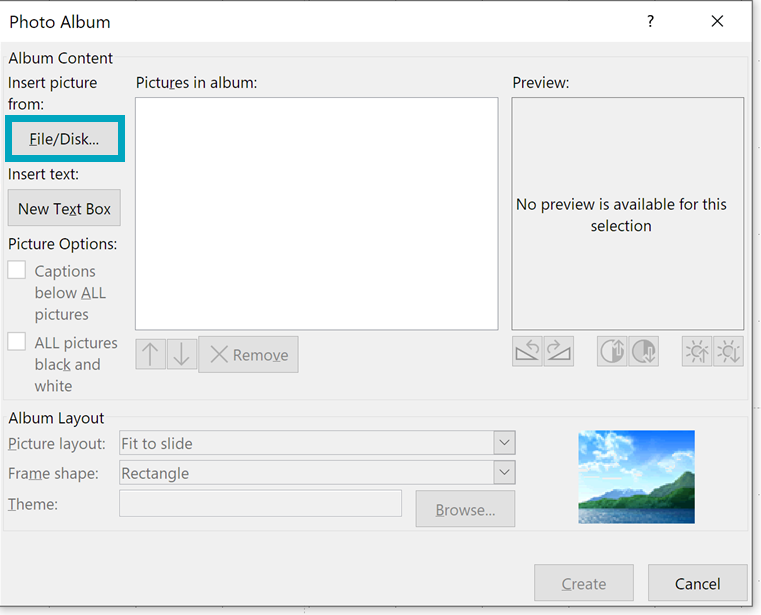
Click on 'File/Disk... to add your images.
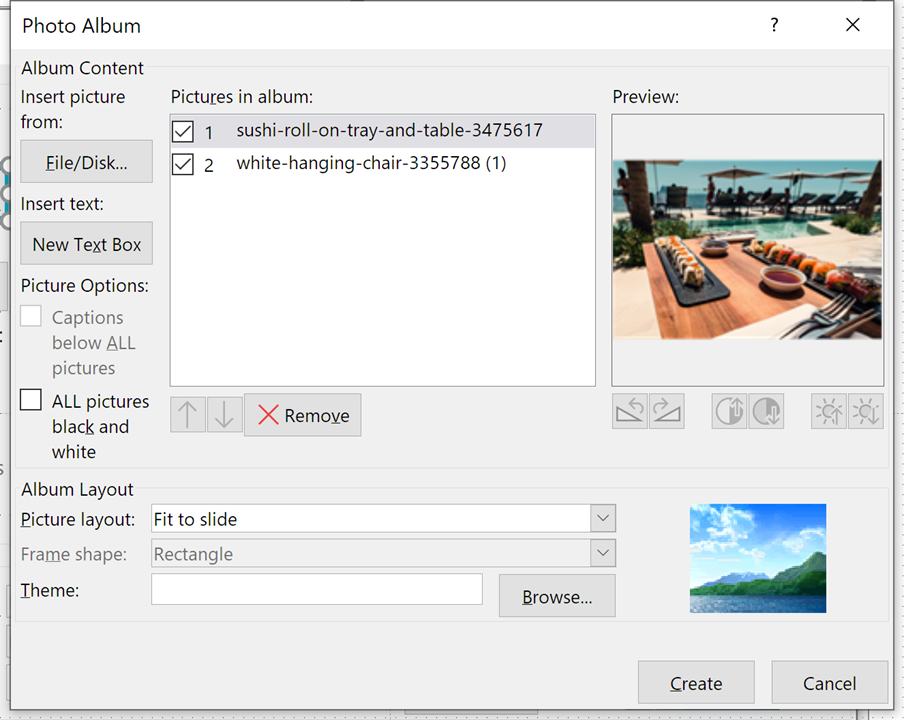
Select minimum 1 image from the set of background images + click 'Create'.
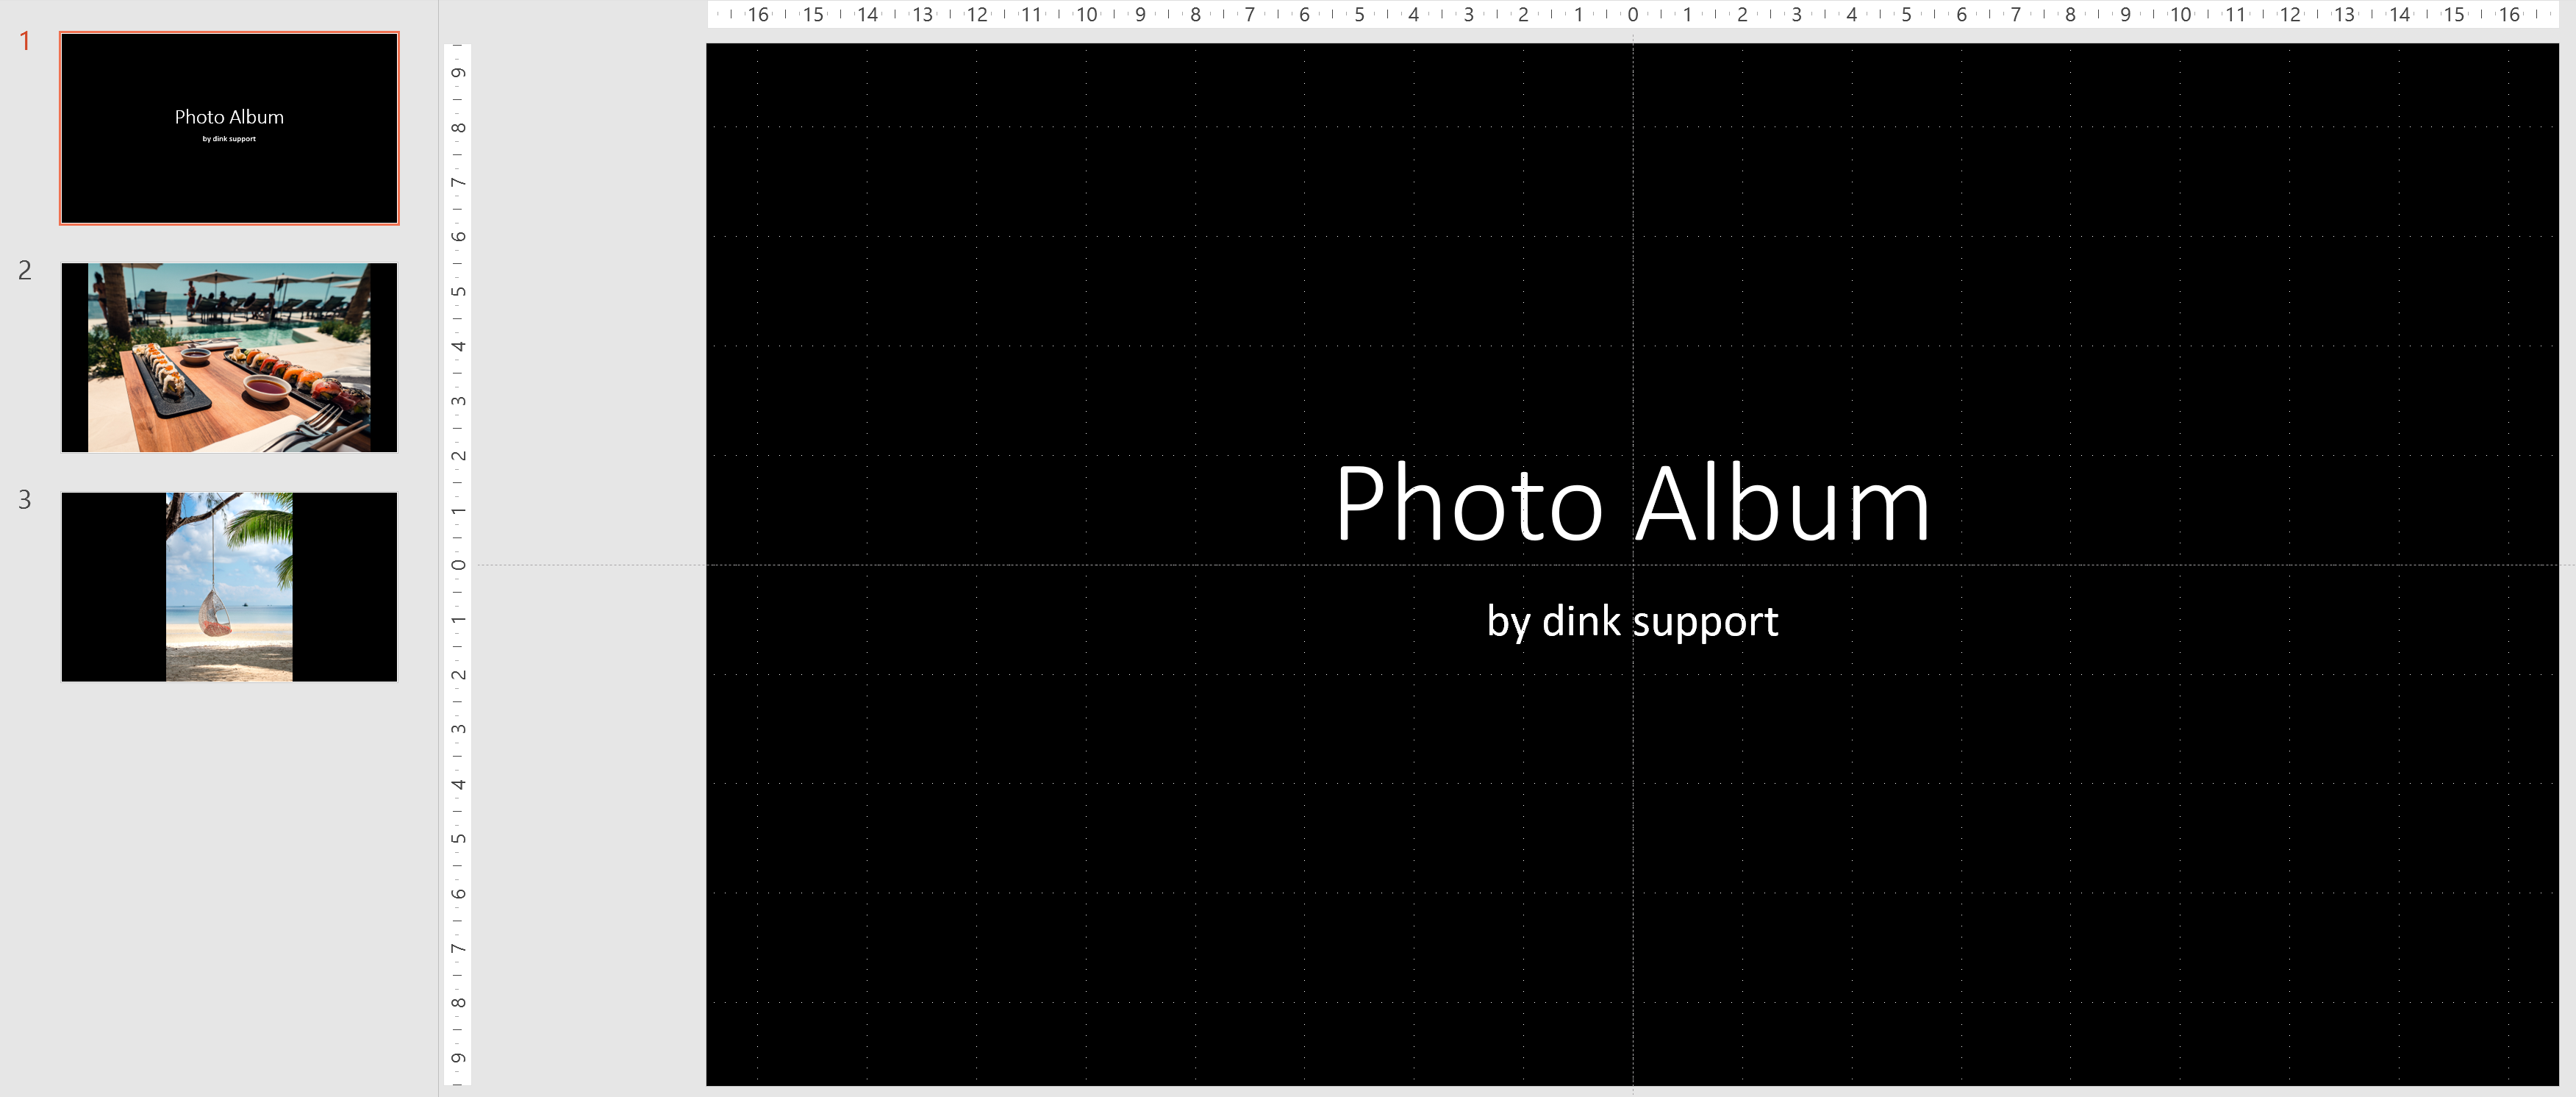
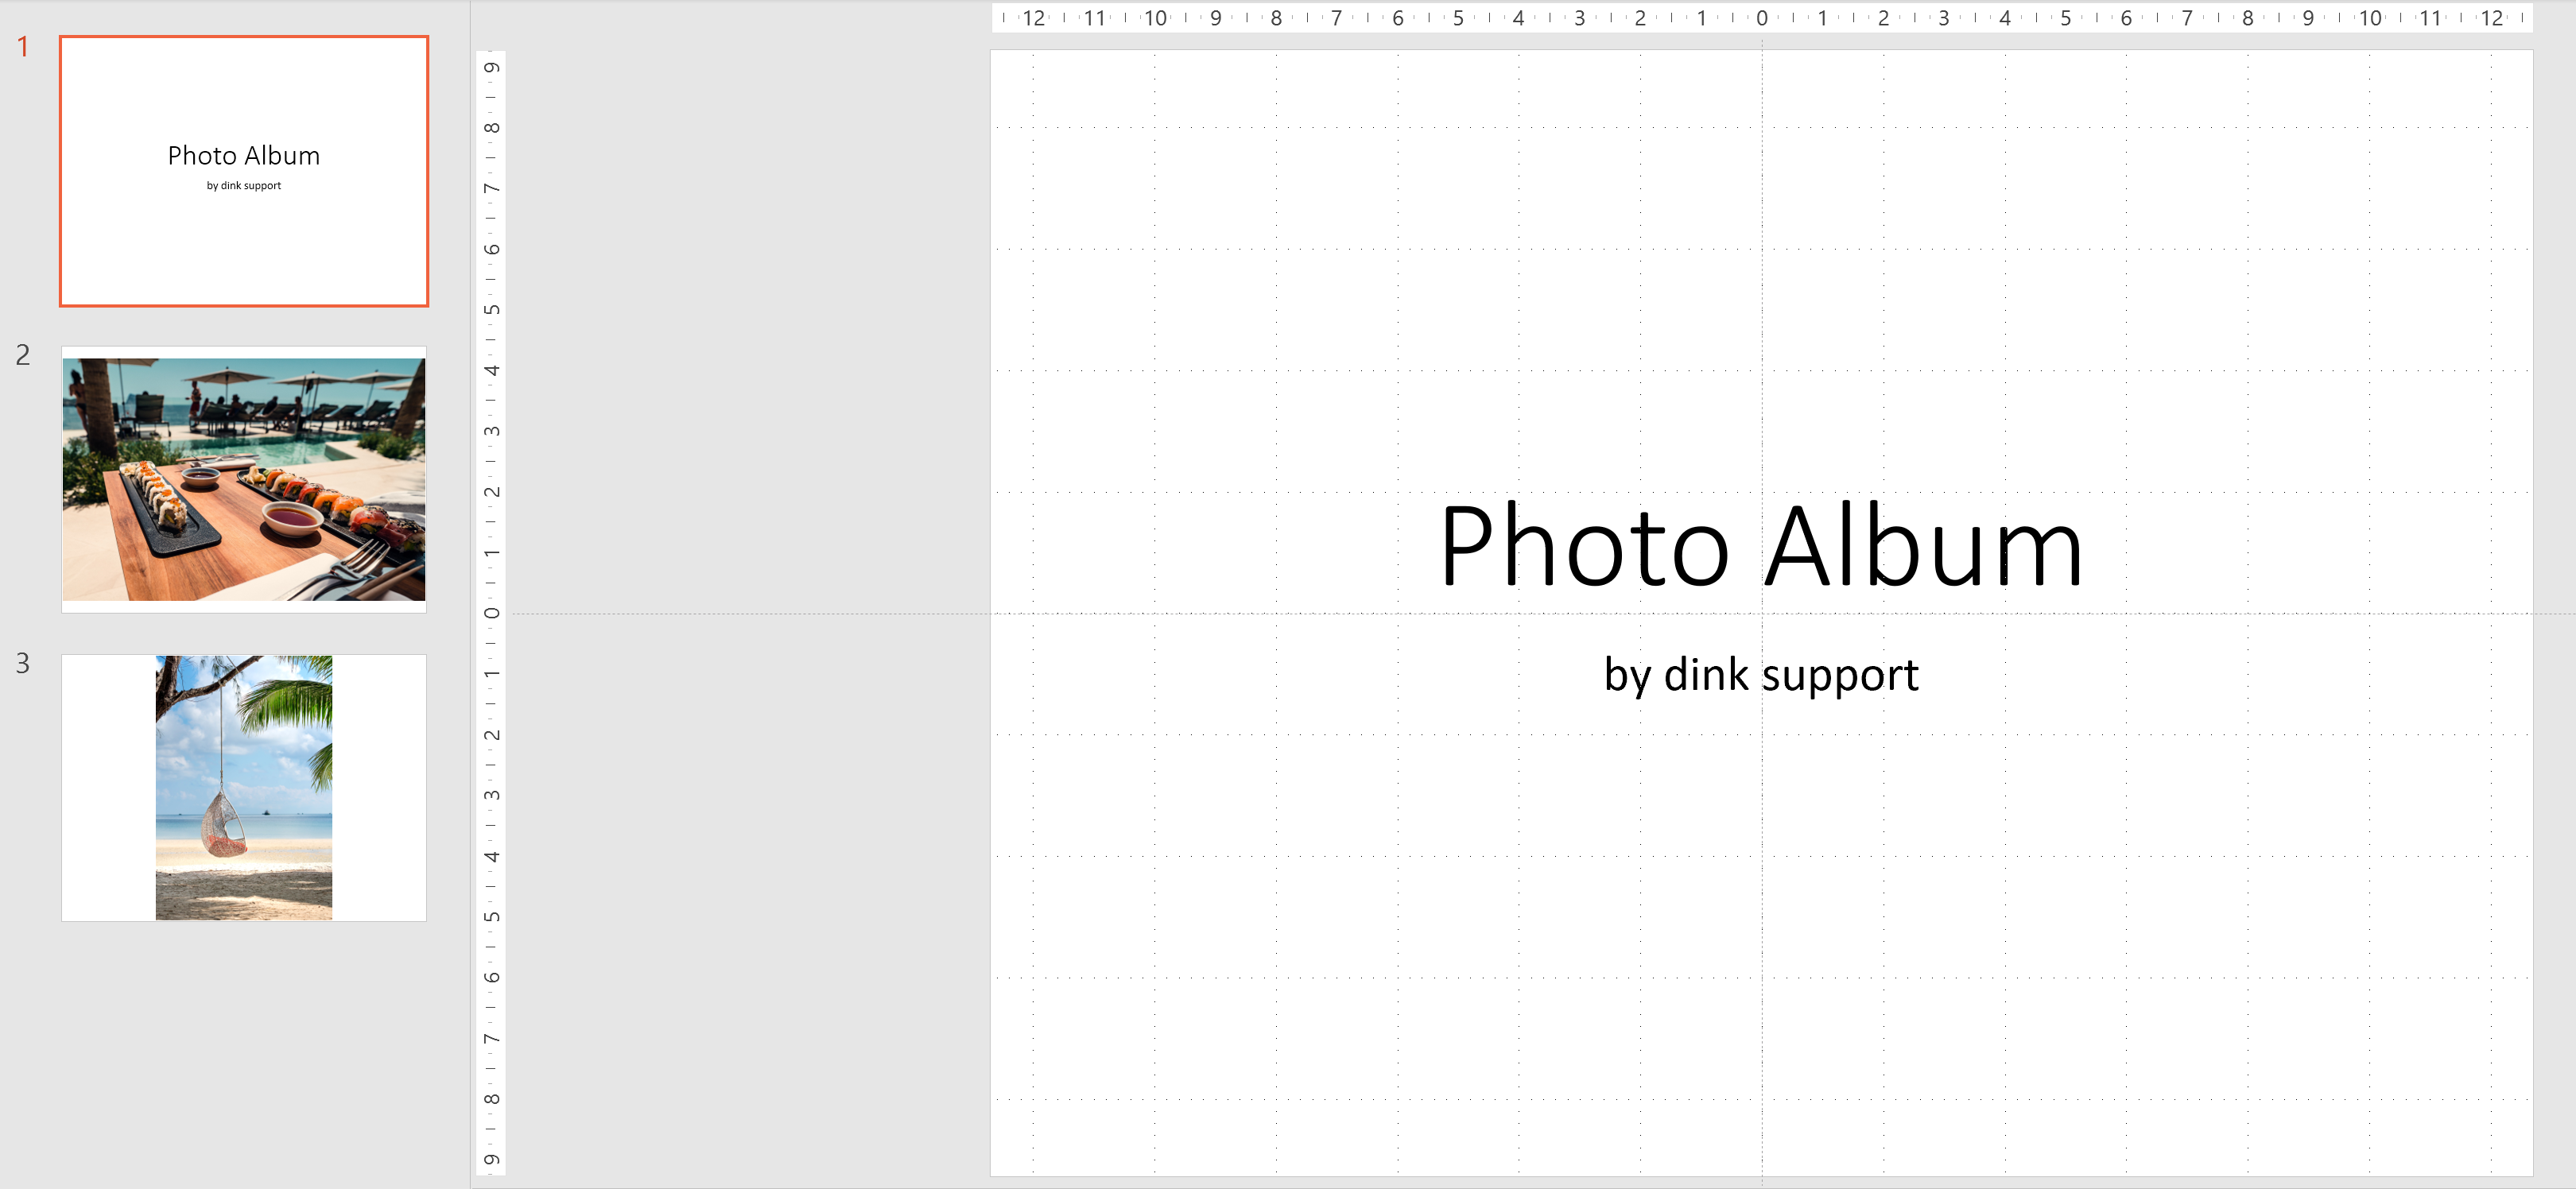
The PowerPoint photo album is created, in 16:9.
Now go to 'Design' > 'Slide Size' > select 'Custom Slide Size'.
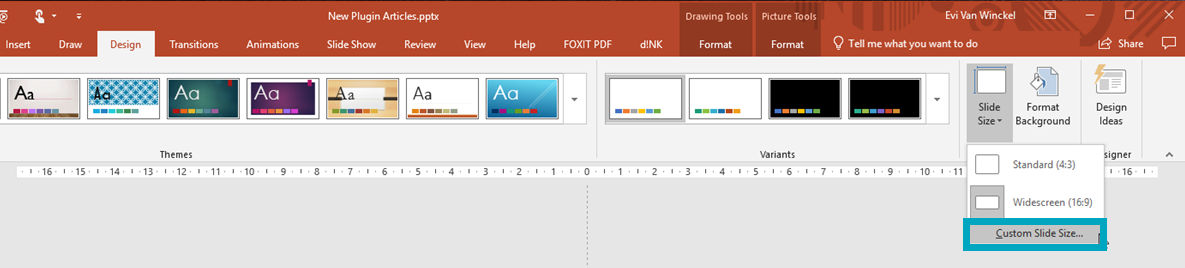
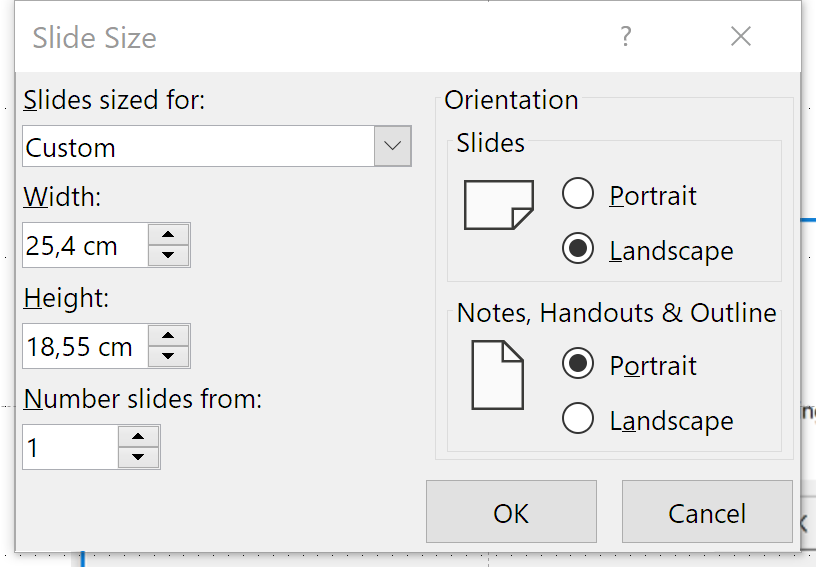
In the pop-up that appears, you can select 'On-screen-show (4:3)' in the first dropdown.
Then change the height to 18,55 cm (the width is already correct: 25,4 cm) as we need to take into account the 20 px of the iPad status bar.
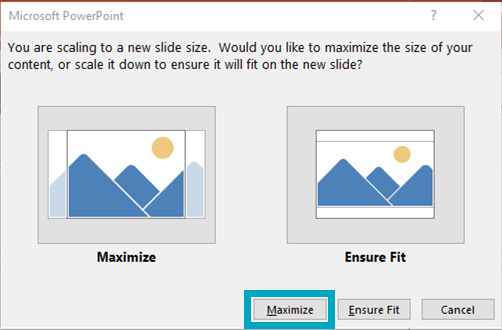
Click 'OK' and then choose 'Maximize':
Now you can delete all the slides you have in this presentation and insert the images all at once.

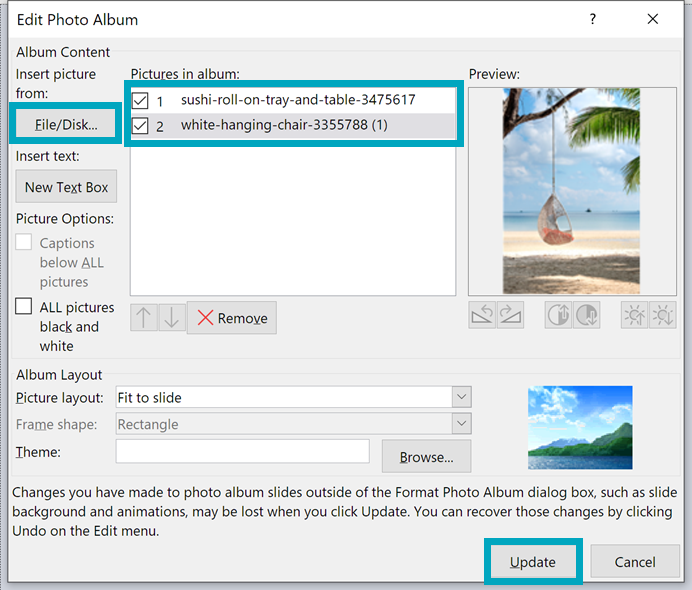
Go to 'Insert' > 'Photo Album' > 'Edit Photo Album'

Select all the background images by activating all checkboxes in the list 'Pictures in album'.
Click on 'File/Disk... to add any other images. Once all images are selected, click 'Update'.
Your slides will now be generated.
Comments