
Your colleagues that need a login for the SalesMatik app to see the relevant libraries and publications, are the users that you need to create.
To go to the overview of your users you can click on 'People' in the top menu or 'Users' in the quick overview:
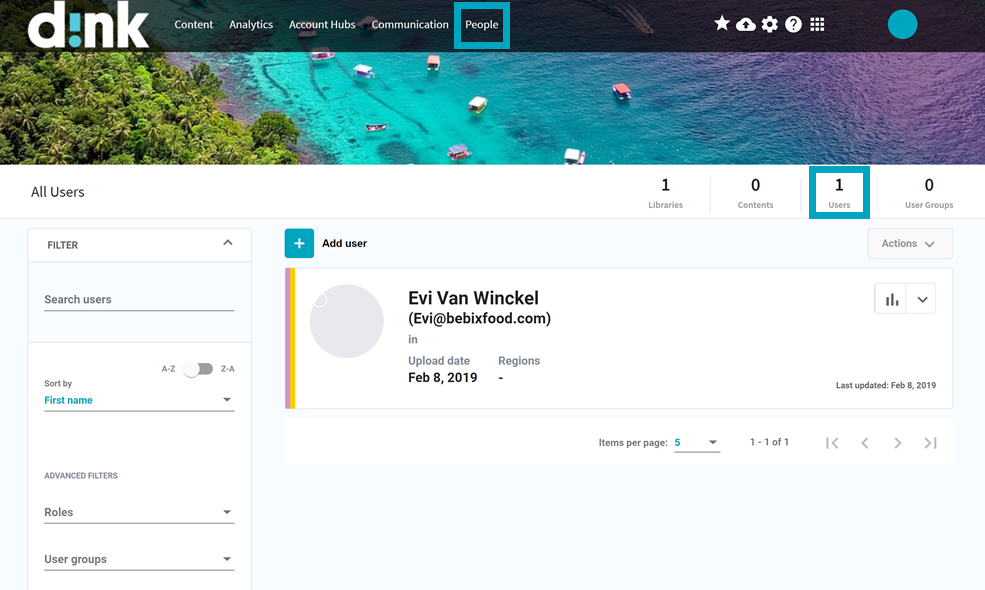
To create users, you can click on
- '+ Add user' to create users manually one-by-one
- the dropdown 'Actions' to upload users via CSV

1. Add users manually
Click on '+ Add user' and fill in the details in the pop-up that appears.
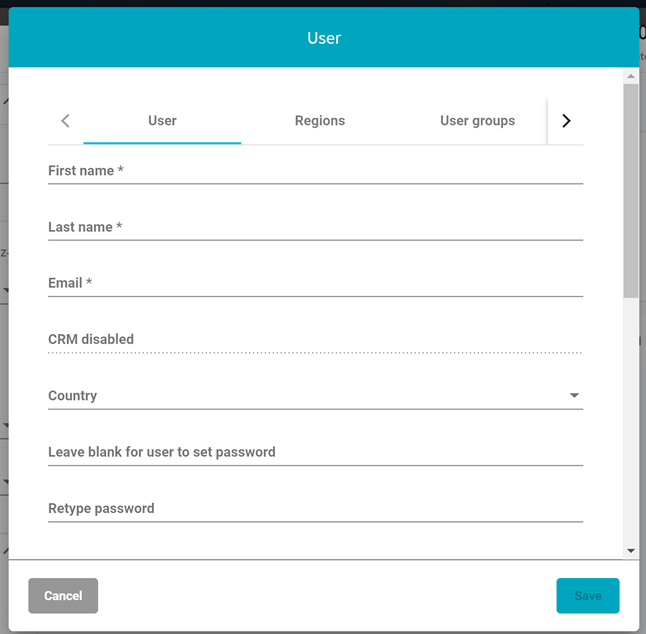
Don't forget to scroll down for the roles that are applicable if this colleague should also be able to upload content and/or manage the enterprise settings.
Based on the 'User groups' this user is linked to, he/she will have access to the necessary libraries and be able to work with the publications that are saved in them.
2. Upload users via CSV
Click on the dropdown 'Actions' > 'Download template (csv)' to download the CSV template that you can use for the batch upload of your users.
If the data is all gathered in the first cell because of your Excel settings, you can easily fix this by
selecting the first column > clicking on the menu 'Data' > choosing 'Text to Columns'.

In the pop-up that appears, you select the following:
- Step 1: Select the option 'Delimited' > click on 'Next'
- Step 2: Tick the box before 'Comma' > click on 'Next'
- Step 3: Click on 'Finish'
Now you can complete the template, save the result and upload it by clicking on the dropdown 'Actions' again but this time choosing the option 'Upload users'.
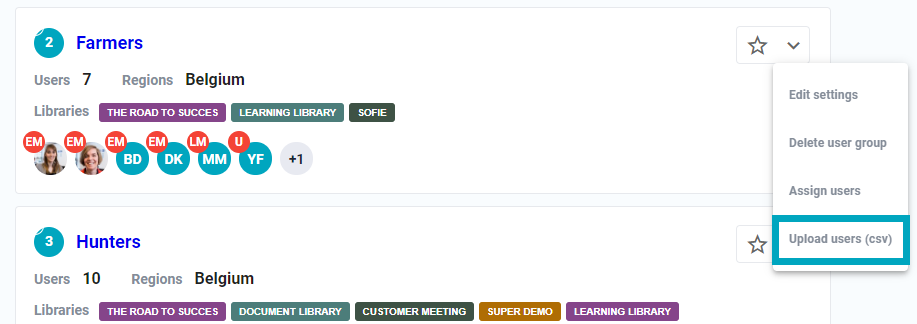
To assign the users to a specific user group, open up the User Groups and upload your colleagues in the relevant one:
Comments